
DESCRIPTION OF 3D MEHNDI DESIGNS
3d mehndi designs are a beautiful and intricate way to enhance the traditional art of mehndi with a modern twist. These designs give the illusion of depth and dimension, making the patterns look like they’re raised or embossed on the skin. Here’s a guide on how to create and appreciate 3D mehndi designs:
WHAT ARE THE TECHNIQUES
Techniques for 3D Mehndi Designs
1. Layering:
Apply a base layer of mehndi and let it dry. Then, add additional layers in certain areas to create depth. This layering technique helps in building a 3D effect.
2. Texture:
Use different types of mehndi cones or applicators to create varied textures. For example, a finer tip can be used for intricate patterns, while a broader tip can be used for bolder, more textured areas.
3. Shading:
Incorporate shading techniques to give the design a three-dimensional feel. This can be achieved by varying the thickness of the lines and using darker tones in some areas.
4. Highlights:
Add highlights or accents using a white or light-colored henna paste to make certain parts of the design pop out more.
5. Contrast:
Use contrasting colors or metallics for certain parts of the design to enhance the 3D effect.
3D MEHNDI DESIGNS IDEAS
Popular 3D Mehndi Design Ideas:
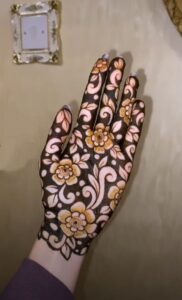
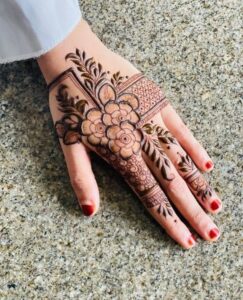
1. Floral Patterns:
Designs featuring layered flowers with overlapping petals can create a beautiful 3D effect.
2. Peacock Designs:
Intricate peacock feathers with detailed layering can give a dynamic and textured look.
3. Geometric Patterns:
Patterns with geometric shapes and interlocking lines can be designed to pop out with a 3D appearance.
4. Traditional Motifs:
Incorporate traditional motifs like paisleys or mandalas with added depth and shading for a classic yet modern look.
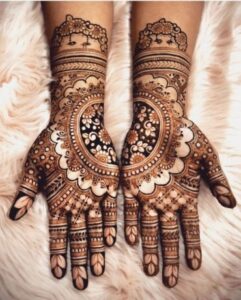
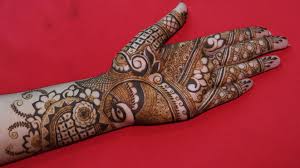
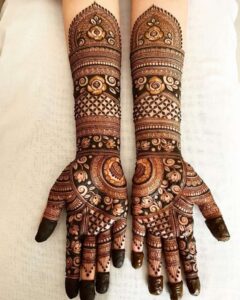
5. Bridal Designs:
Bridal mehndi designs often use elaborate patterns that can be enhanced with 3D effects to make them stand out.
Tips for a Successful 3D Mehndi Design:
Preparation: Ensure the skin is clean and dry before applying mehndi. The clearer the skin, the more vibrant the design will be.
Drying Time: Allow each layer of mehndi to dry thoroughly before applying additional layers or details.
Practice: Creating a perfect 3D effect can take practice. Experiment on paper or a practice skin before working on a client or yourself.
Aftercare: To make the design last longer and maintain the 3D effect, keep the mehndi on for as long as possible and follow proper aftercare instructions like avoiding water and harsh chemicals.
3D mehndi designs can be a stunning addition to any traditional or contemporary event. They require skill and patience but can result in breathtakingly beautiful and unique patterns.
nice blog
Thank you 👍